
Here's a step-by-step of making a sweet tomato basil sauce/soup and canning it to make it shelf-stable. The ingredients are acidic so we can do water bath canning with any big pot of water. This is not pressure canning, which requires a special canner. Of course, if you only have a pressure canner, you can just use it as a water bath for this recipe.
Supplies:
- Tomatoes, any type
- Onions
- A sweet fruit like apples, pears, or peaches
- Garlic
- Basil
- Seasonings: salt, pepper, oregano, etc.
- A roaster oven or roasting pan for a normal oven
- Giant spoon
- Canning jars, new lids, and bands
- Big pot(s) for water bath canning (any pot will work, just make sure it is deep enough for 1" of water above the top of the size jar you are using)
- Trivet to put in bottom of each pot (optional...I'm talking about a regular metal trivet you'd use to put a hot pot of food on your dinner table)
- Jar lifter and jar funnel:


Toss them into the roasting pan. Here I'm using my electric roaster oven so I just brought the entire pan into the kitchen. In the summer time I use my roaster oven in the garage so it won't heat up the house.
This is about 20 pounds of tomatoes.
 2. Wash and cut some apples to toss in for sweetness and some onion and garlic, too. This is a really good way to use up old apples or pears that aren't very good for eating fresh. I don't like pears much so I often toss them into tomato sauces/soups like this.
 3. Stir it all up.
 4. Set temperature to about 450F. Set the timer for 20 minutes. I like to set my phone timer so I can go off to do other things around the house.
5. Every 20 minutes stir the contents of the pan. Keep doing this until it is a pot full of mushy goop (about 3 hours). I often turn the temperature down to 350F after it is pretty mushy and only come back to stir it every 30-40 minutes.
6. Turn the oven off and let it sit for a while (even overnight) so it is a lot cooler. You don't want to carry a big pot of 400 degree sauce into the kitchen!
7. Use an immersion blender (or food processor) to blenderize the goop. I don't know how I lived so long without an immersion blender. They are ah-mazing!
 8. Admire the sauce; isn't it lovely?
 9. Wash and chop as much basil as you want to add.
 10. Then stir it in. Add any other seasonings you want at this point. I added about a cup of dried oregano and some black pepper to mine.
 11. Put the roasting pan back into the oven and set temperature to 300F while you prepare all of your canning supplies. It'll take a lot less time to get the water bath up to a boil to seal the jars if you start with warmed sauce (this is referred to a "hot pack," where as putting cold or room temperature foods into jars is called a "cold pack").
12. Fill one or two big pots 1/3 full of water and set to boil. Put a trivet in the bottom of each pan. The jars will sit on top of the trivet so water can circulate beneath them and help prevent them from knocking around while boiling. Sometimes I don't bother with the trivet and sometimes I use a washcloth instead.
 13. Gather as many jars as you need. Wash them in an empty dishwasher or in hot, soapy water in a clean sink.
 14. Put the new lids into a pan of water and set to simmer on the stove to sterilize them. Don't let them boil! I shut the heat off right when I see bubbles forming on the lids.
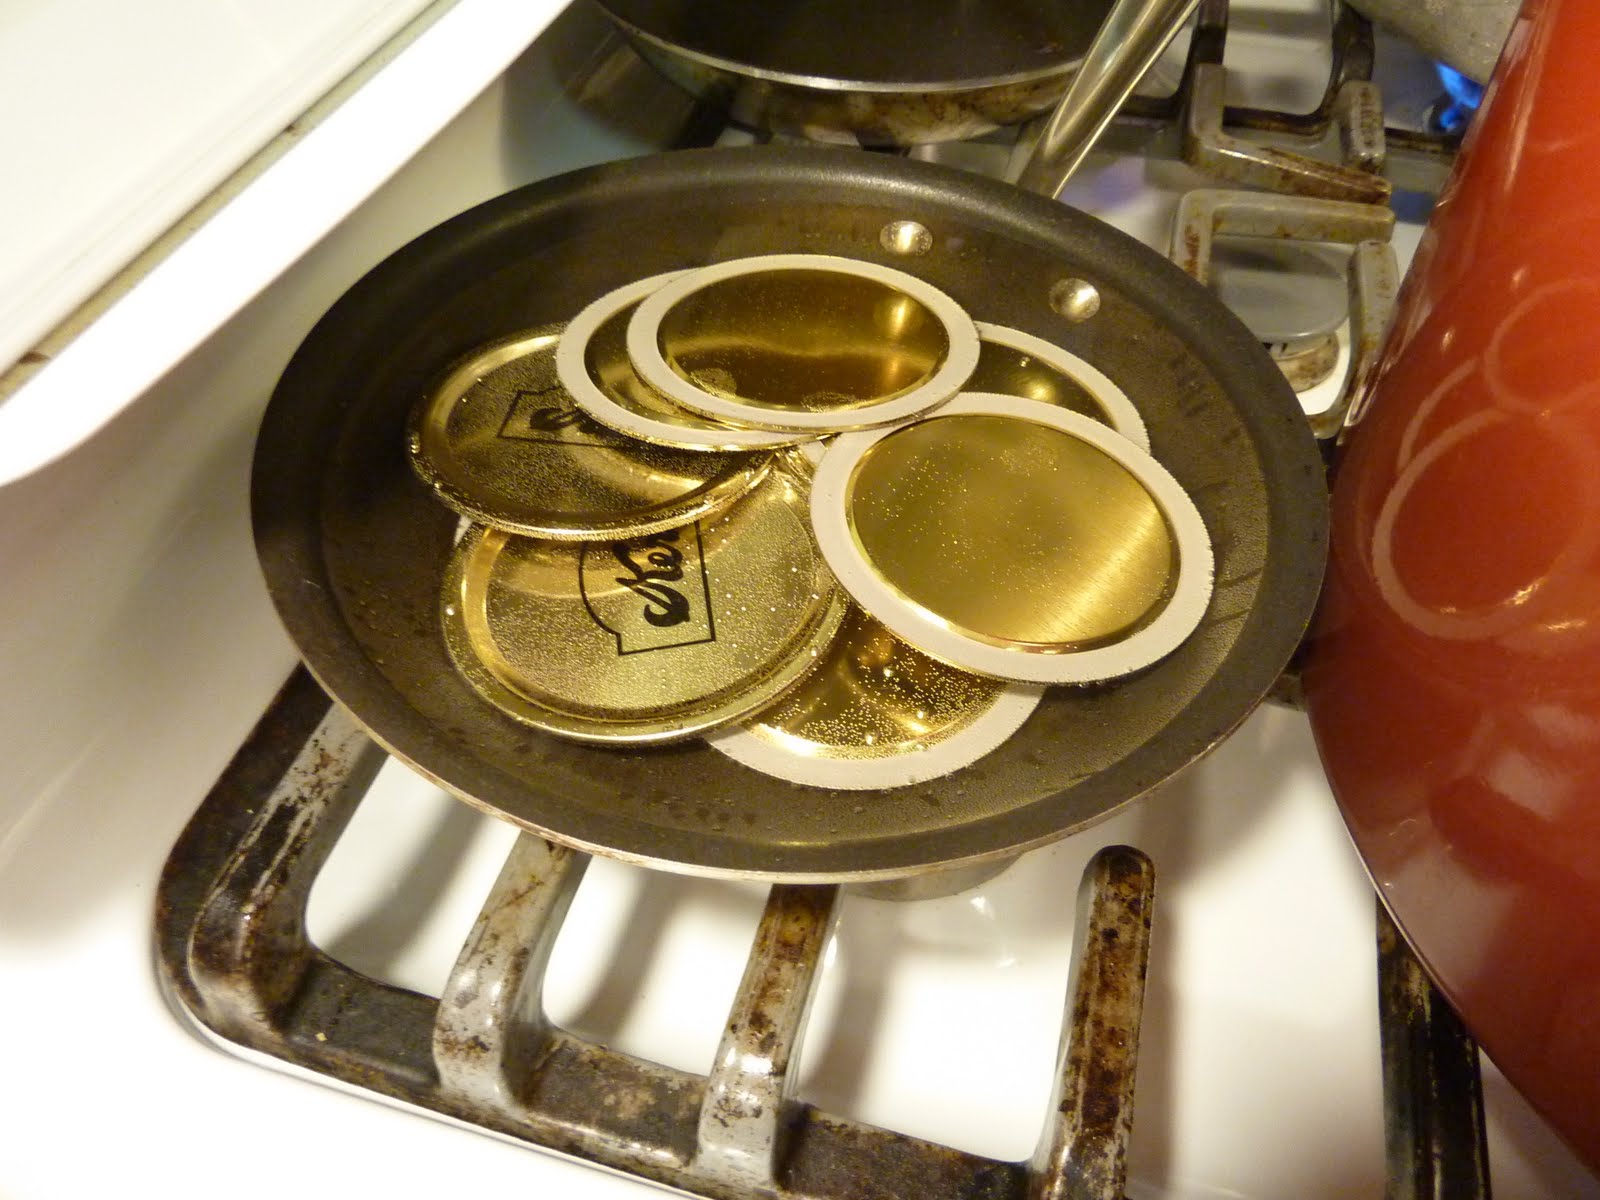 16. Rinse your jars with hot water and set on the counter.
 17. Fill the jars to about 1/4" below the bottom of the rim. This extra space is called the "headspace" and the amount of headspace differs a little between types of foods. I have found this amount of headspace to be perfect for this type of sauce (and applesauce, too).
Leaving too little room will let the sauce boil out of the jar during canning. This isn't good because particles of the food will get stuck under the rubber part of the lid and when it cools it won't seal.
 18. Wipe the tops of each jar with a clean, damp paper towel to clean it off. It must be fee of any food residue before placing the lids on top.
 19. Run a clean finger around the top of each jar to make sure there are no nicks in the glass (this would be a good thing to do before filling the jars, actually...oh well). Nicks in the glass will prevent a good seal from forming when the jars cool.
 20. Place a hot lid onto each jar. Careful, they're hot! I use a fork to remove the lids from the pan (slide a lid between the tines and lift it out).
 21. Place a band onto each jar. Only tighten them a little bit. If they are too tight then during the canning process the heated air in the headspace won't be able to escape (hot air expands). If the hot air can't escape you could get a broken jar.
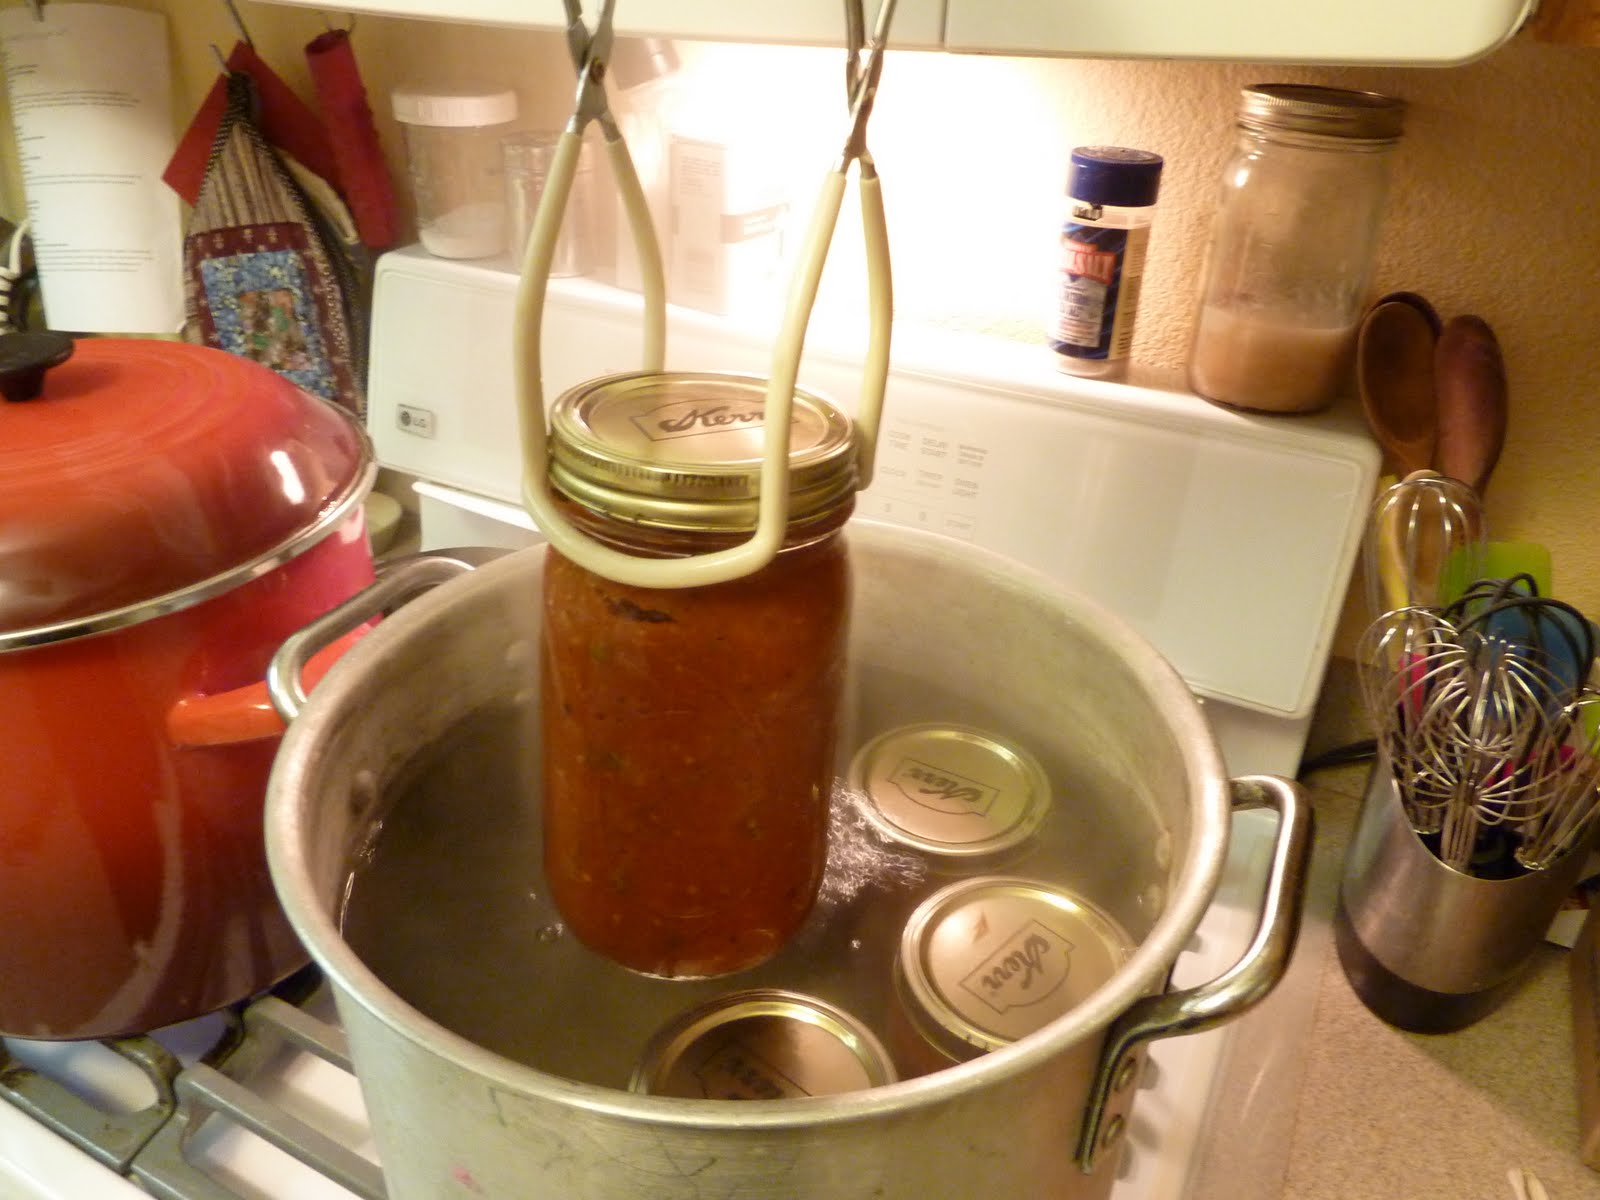
 22. Use the jar lifter to place the jars into the pots of boiling water. You want to fill the pot full of jars so they won't knock around while boiling. You can always use a bottle of clean water to take up space if you don't want enough jars of sauce.
 23. Add water to the pots if needed to get about 1" of water above the tops of the jars. Set to boil.
 24. Set timer for 30 minutes once the pots reach a rolling boil.
25. Turn stove off and remove jars with the jar lifter. Do not tip the jars when you are removing them! Doing so can let some of the boiling sauce pour out from under the lid and it won't seal. Sealing occurs ONLY once the jars start to cool. So at this point the jars are NOT sealed yet.
 26. Set the jars on a towel and leave them alone until they are completely cool (like overnight). Don't touch the tops of the jars!
27. Once they are cooled completely, take the bands off. You don't want to store canned foods with the bands on because the moisture trapped there from the canning process will make the lids (and bands) rust and also mold can grow there.
 28. Tap the top of each jar to see if it makes a "clink" sound of the lid depressing (not sealed) or a dull "thud" (already sealed). If they are sealed you can wash the jars off, label them, and put them on a shelf to later use. If they are not sealed, you can either put them in the fridge to use soon or re-can them with new lids. Just remove the existing lids and start back at step 18.
You can see one jar with a white lid at the bottom of the picture that I've pulled off to the side. It didn't seal so I put it into the fridge...and then ate the soup that night.
 29. Enjoy the sauce! Here are some of my suggestions for the tomato sauce:
- Eat as-is, as a tomato basil soup (we like to dip grilled cheese sandwiches in!)
- Stir in some cream of half-and-half to make it a cream of tomato soup
- Stir in some curry powder and/or garam masala and yogurt or cream to make an Indian-inspired simmering sauce for veggies, beans, or meat and serve over rice
- Add more dried herbs to make it into a pizza or pasta sauce (rosemary, thyme, garlic powder, etc.)
- Pour some into your next batch of chicken soup to give it a little acidic/sweet flavor
- Use it as an omelet filling with some cheese...these were a favorite "left over spaghetti sauce" breakfast growing up!
3 comments:
I love that popping sound when the tops are sealed. Looks yummy, Julie! Wish I could make this without having to BUY the produce at a store :( When my garden is up and running, so will my canning of tomato, jam and other yummy goodness!
Oh my GOSH! I JUST pulled out my garden yesterday!!!!!!! Aaaaaack! Maybe I can find someones left over tomatos b/c i really want to try this! thank you!
If your tomatoes are super ripe and/or not very acidic, consider using tart apples to decrease the pH (make it more acidic). Super ripe tomatoes are ideal, but they can be less acidic than you'd want for water bath canning like this.
Another option would be to add 1-2T of lemon juice to each jar before filling, to ensure that the sauce is acidic enough.
Or you can use a pressure canner, which is used for foods whose pH is not low enough for safe processing by water bath.
Post a Comment